

CNC Router Production Workflow: From Design File to Finished Part





A CNC router production workflow connects a digital design with a precise physical product. From CAD drawing to final inspection, each step affects machining accuracy, surface quality, production efficiency, and repeatability.
Understanding the complete CNC router process helps operators reduce setup errors, select suitable cutting tools, and achieve consistent finished parts.
1. Create and Check the Design File
Production begins with a digital design created in CAD software. The file defines the dimensions, shapes, holes, contours, pockets, and other machining details.
Before machining, check the design for:
Correct dimensions and material thickness
Closed vectors and accurate contours
Proper hole and pocket positions
Suitable machining tolerances
Correct units and coordinate references
A clean CNC design file provides a reliable starting point for the entire production process.
2. Generate the CNC Toolpath
The CAD design is imported into CAM software to create machining toolpaths. The CAM program determines how the CNC router will move the cutting tool.
Typical settings include:
Tool type and diameter
Cutting depth
Cutting speed and feed rate
Spindle speed
Step-over and machining passes
Cutting direction
Entry and exit points
The completed toolpath is then converted into machine-readable CNC code for the controller.
3. Prepare the Material and Workholding
Before cutting, place the workpiece securely on the CNC router table. A stable workholding method is essential because material movement can affect dimensional accuracy and surface quality.
Depending on the application, CNC routers may use vacuum tables, positioning systems, clamps, or pneumatic pop-up pins.
The operator should also confirm the material size, thickness, cutting area, and tool clearance before starting the machining cycle.
4. Set the CNC Router
The next step is machine setup. Install the correct cutting tool and set the work coordinate system.
Important checks include:
Tool installation and tool length
X, Y, and Z zero points
Spindle condition
Vacuum or workholding system
Dust collection
Cutting parameters
CNC program and toolpath
For automatic tool change machines, the required tools can be loaded into the ATC tool magazine, reducing manual tool changes during production.
5. Start CNC Machining
Once everything is verified, the CNC router follows the programmed toolpath automatically.
The machine can perform operations such as:
Profile cutting
Pocketing
Drilling
Slotting
Engraving
3D carving
Grooving
During machining, the operator should monitor cutting performance, tool condition, material stability, dust removal, and abnormal vibration or noise.
For industrial production, a properly configured CNC router machine can improve repeatability while reducing manual processing steps.
6. Inspect the Finished Part
After machining, remove the finished part and check its dimensions, edges, holes, surface quality, and overall shape.
If necessary, perform secondary operations such as deburring, sanding, cleaning, assembly, or finishing.
For repeated production, inspection results can also be used to adjust toolpaths, cutting parameters, or workholding methods.
From Digital File to Finished Product
The complete CNC machining workflow can b
 CNC Router Production Workflow: From Design File to Finished Part
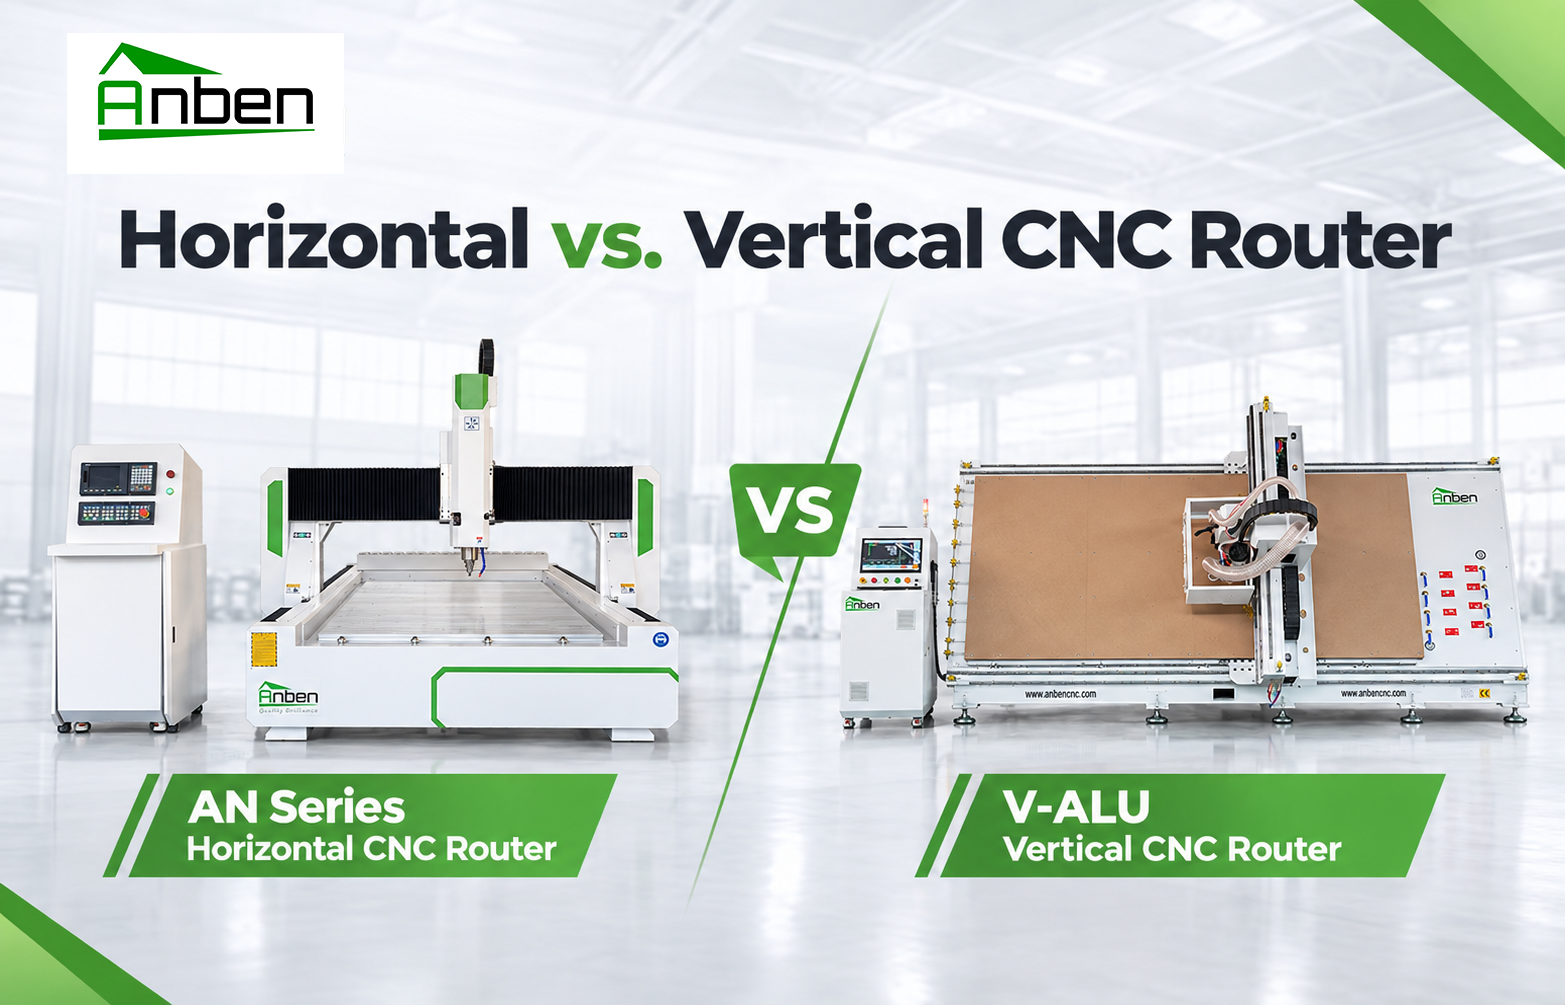
 Horizontal vs. Vertical CNC Router: Which One Is Right for You?
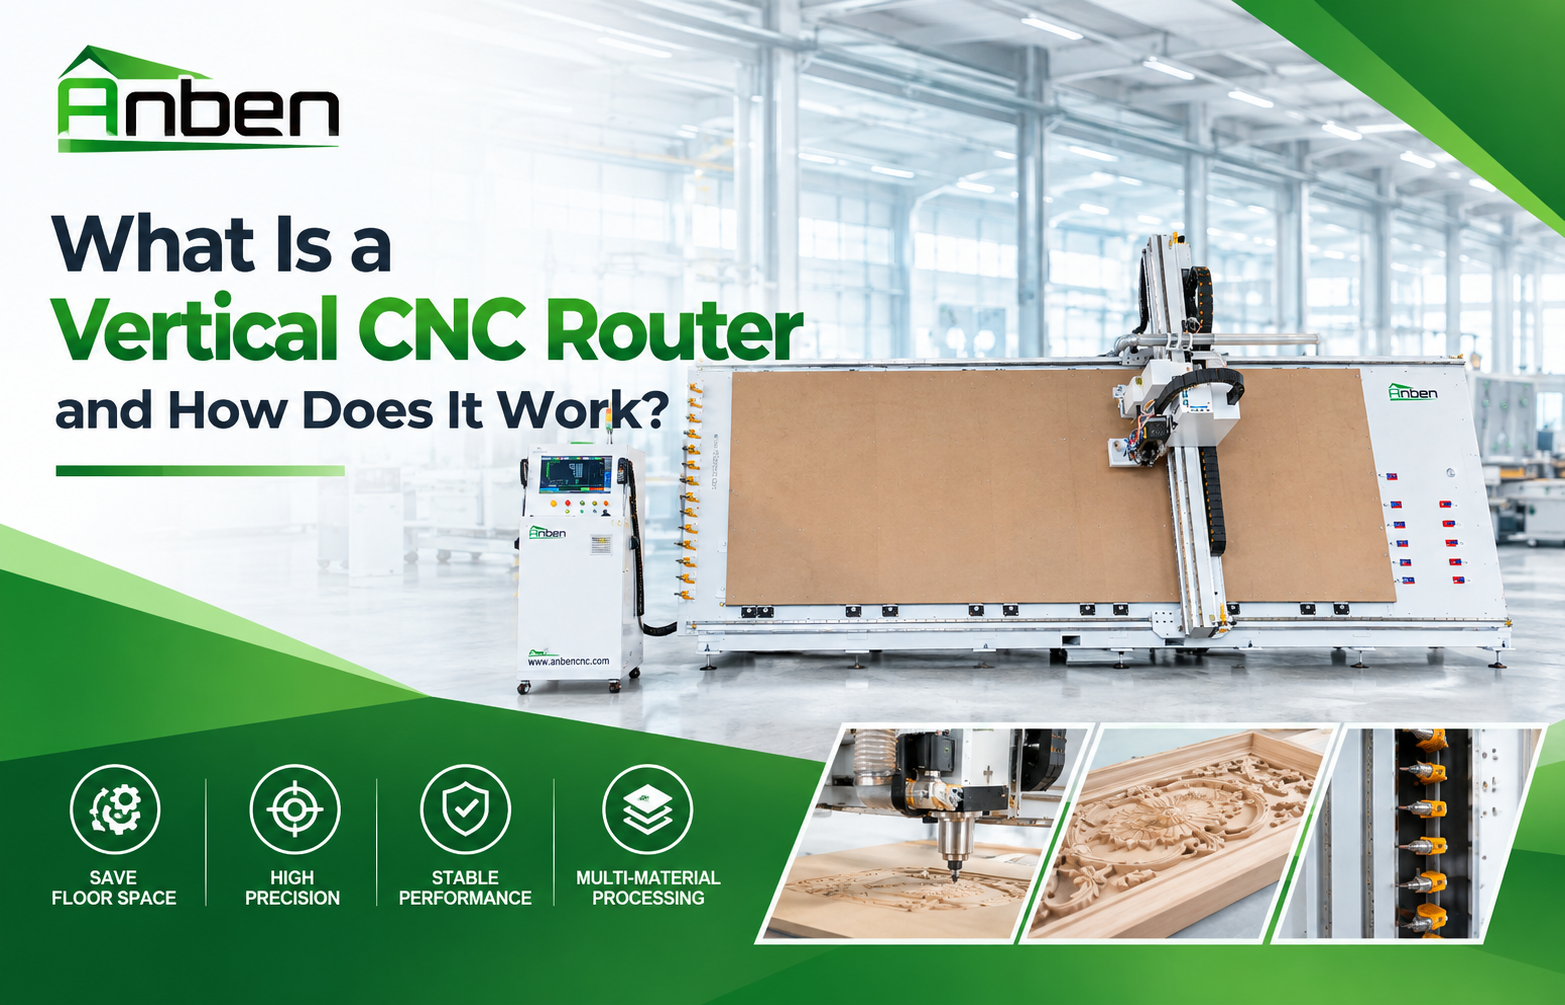
- What Is a Vertical CNC Router and How Does It Work?
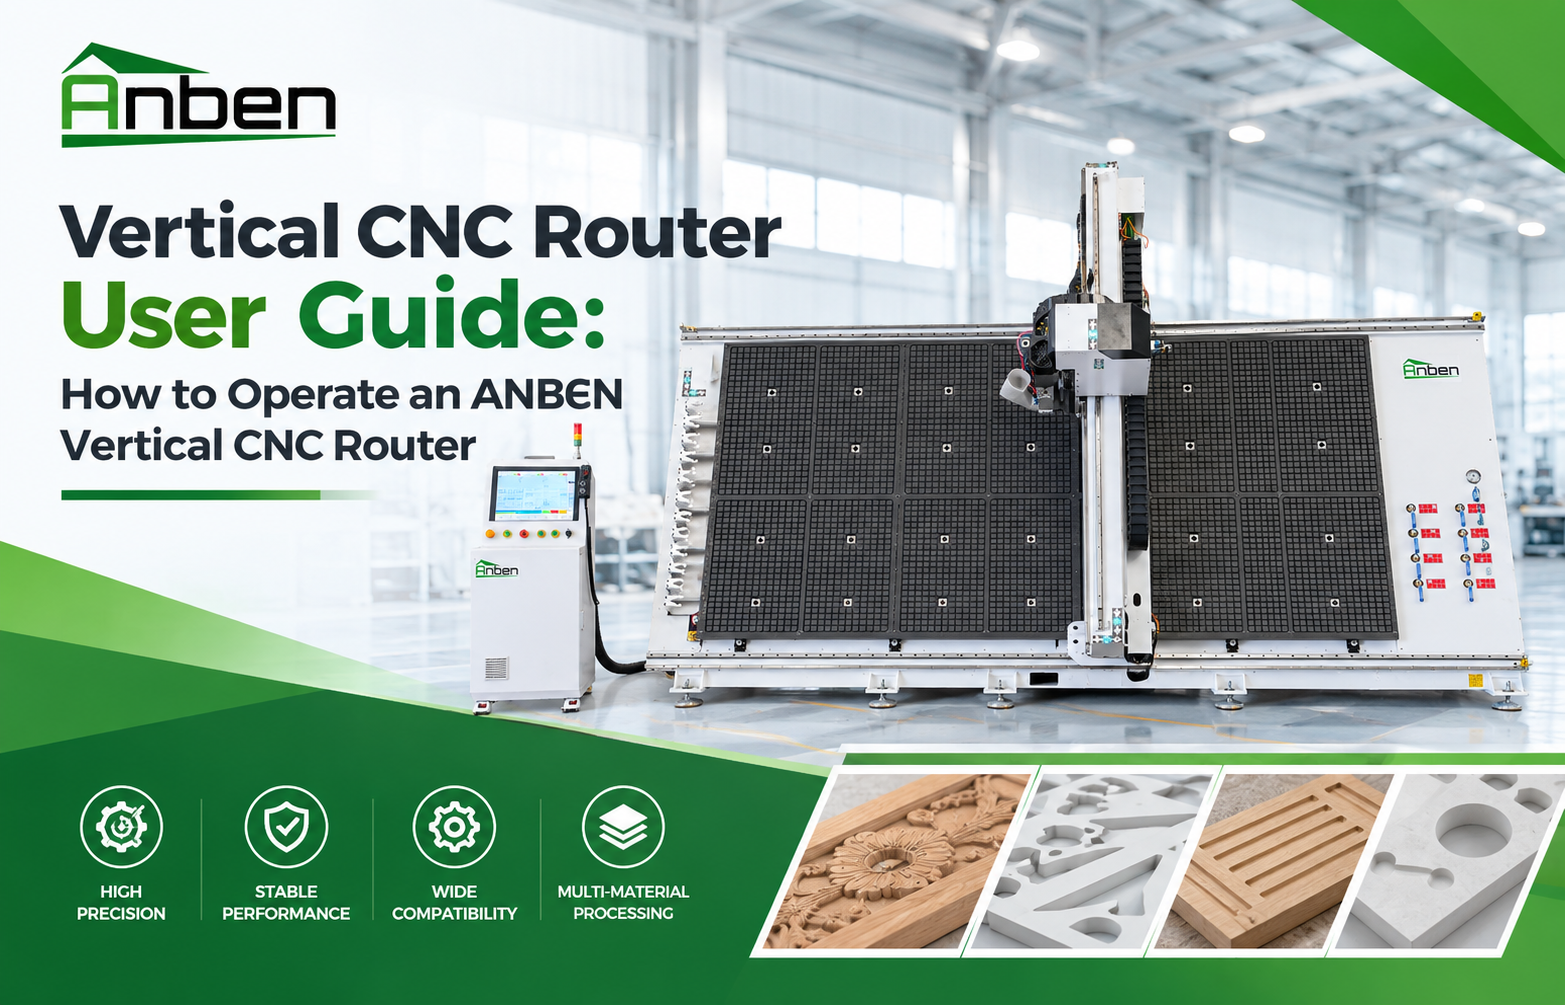
- Vertical CNC Router User Guide: How to Operate an ANBEN Vertical CNC Router
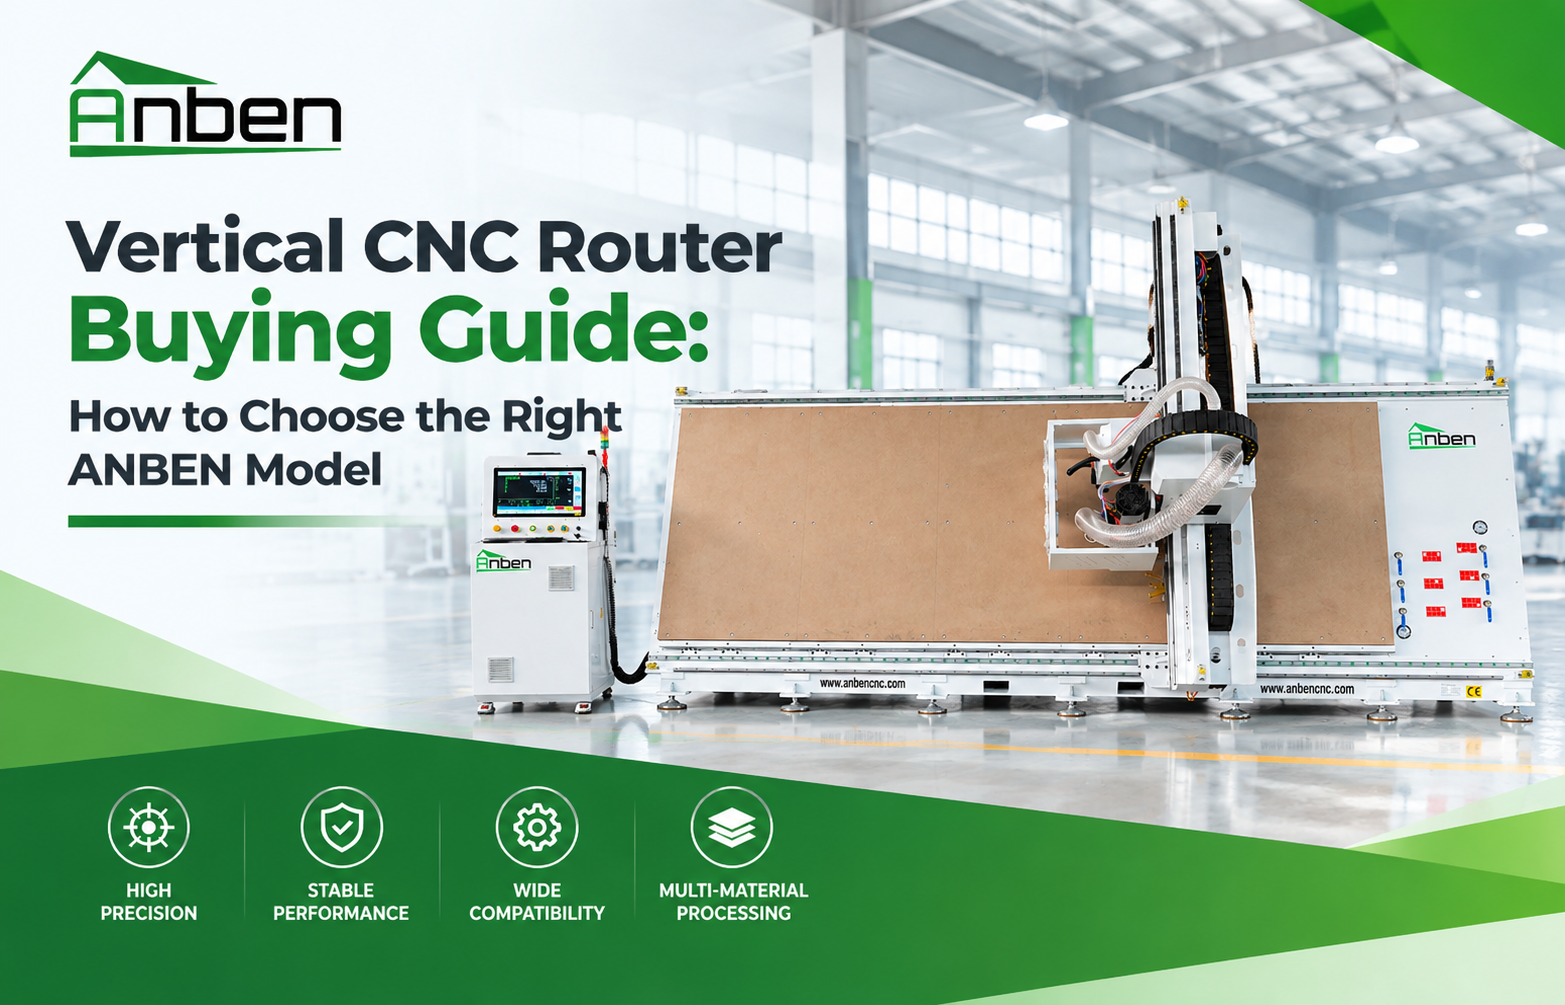
- Vertical CNC Router Buying Guide: How to Choose the Right ANBEN Model
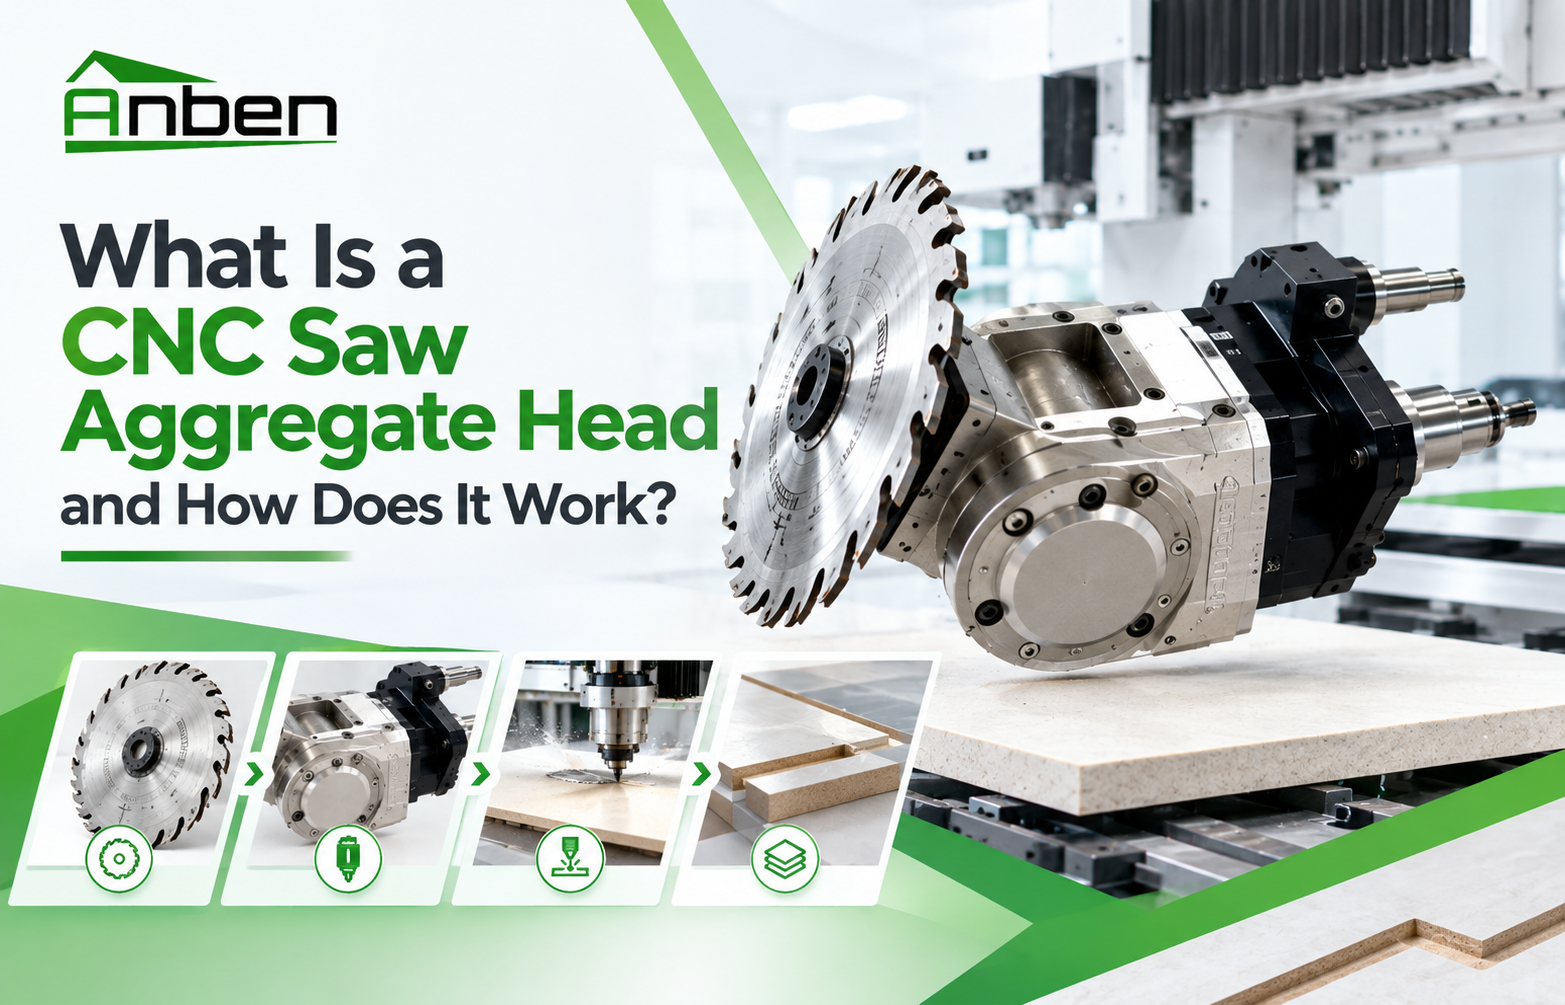
- What Is a CNC Saw Aggregate Head and How Does It Work?
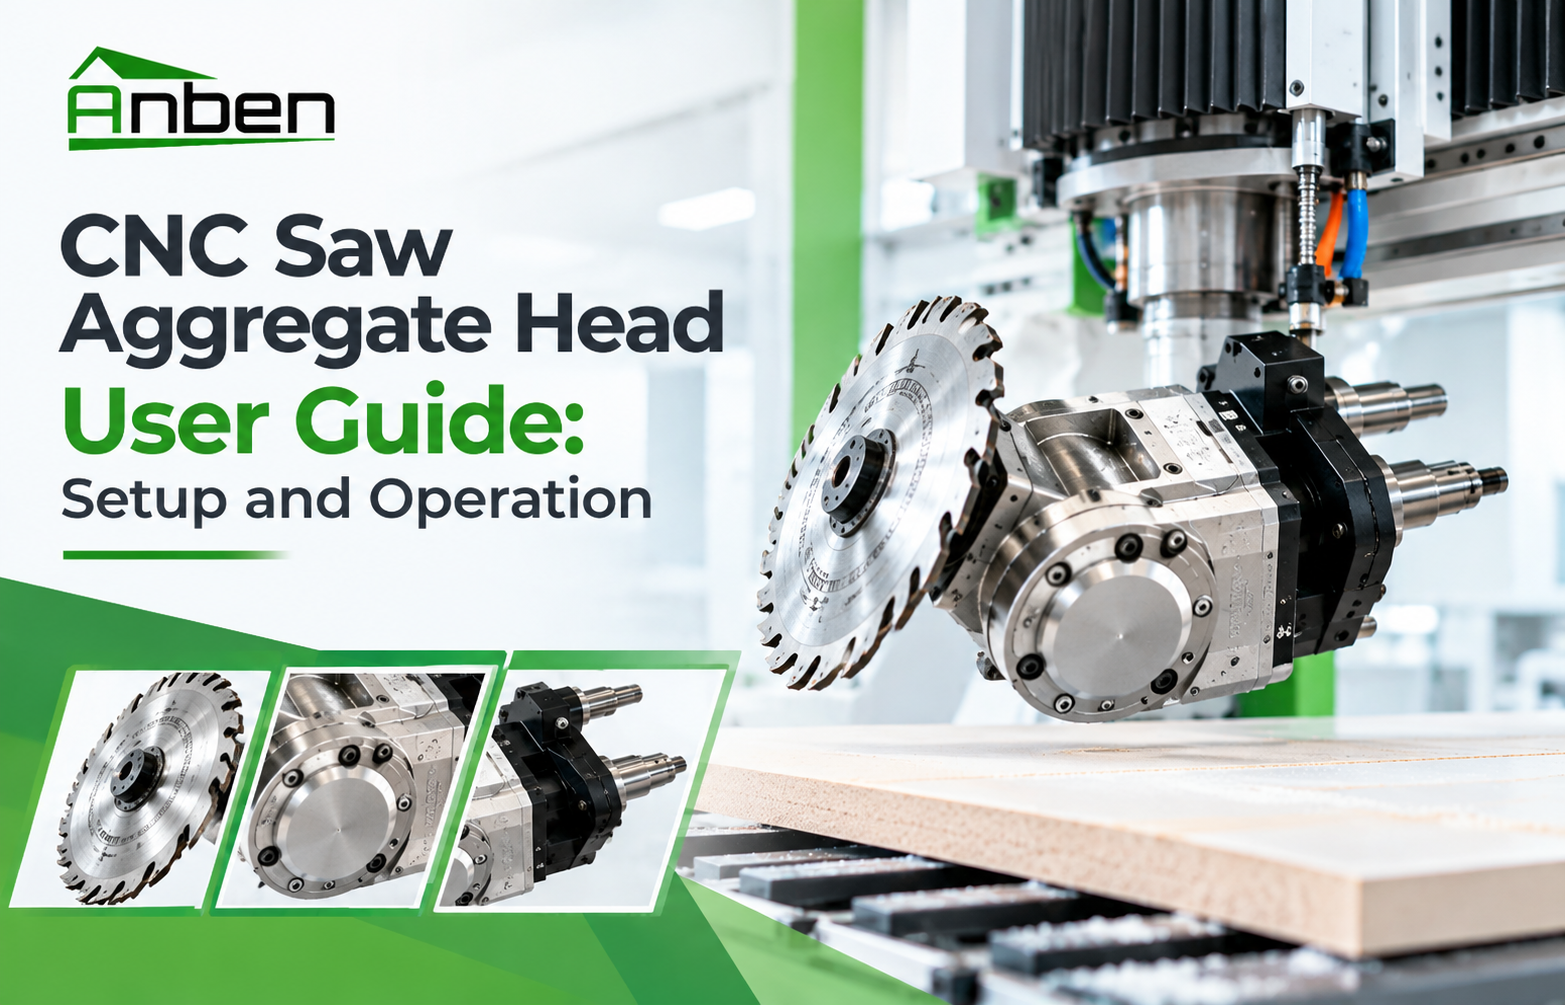
- CNC Saw Aggregate Head User Guide: Setup and Operation
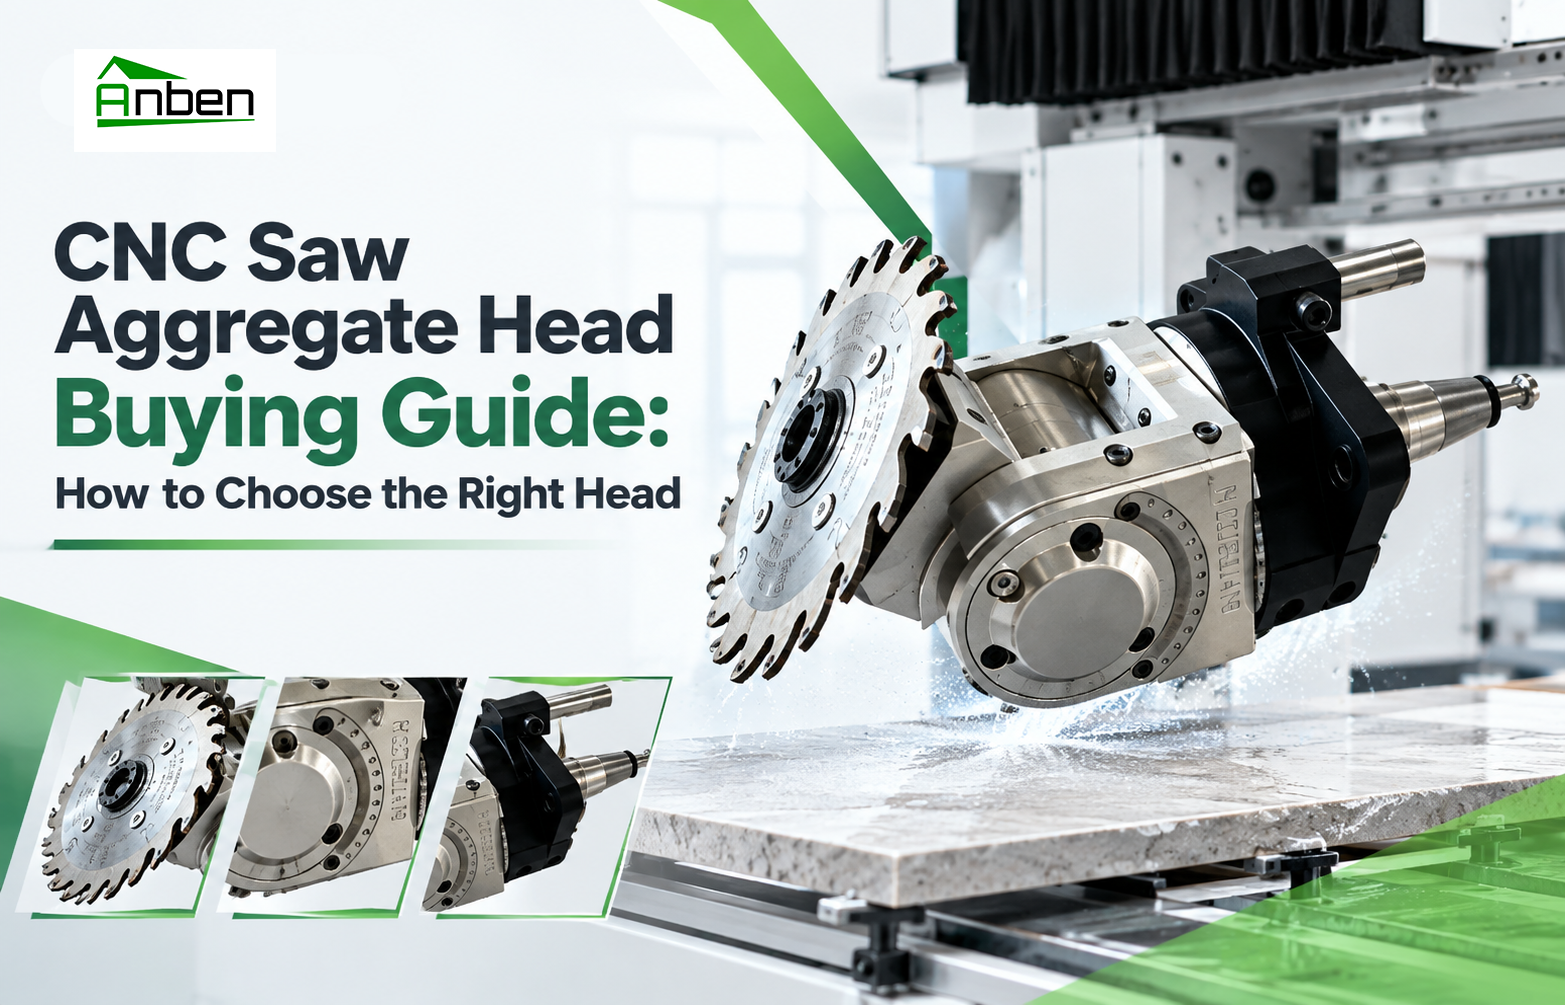
- CNC Saw Aggregate Head Buying Guide: How to Choose the Right Head

Related Products
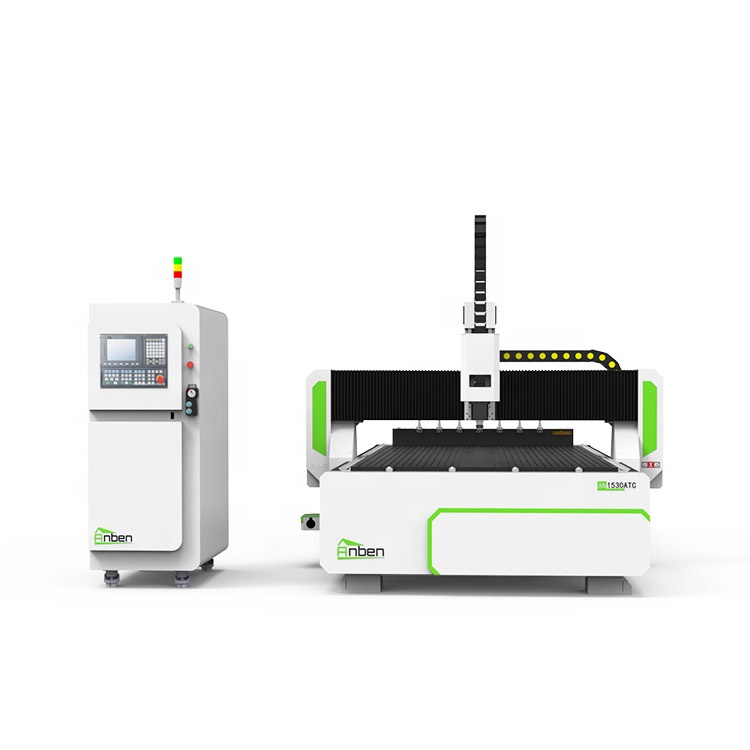
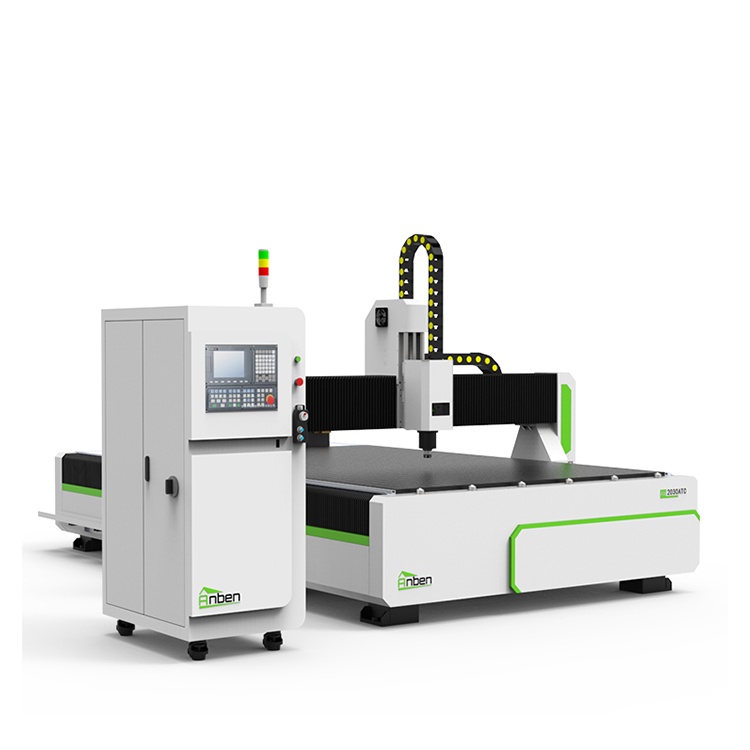
 AN1530ATC Automatic Tool ChangeAnben ATC (Automatic Tool Change)CNC router is popularly used in woodworking, making signs, molds making, art crafts making, etc. The automatic tool changer magazine carries 8-16 cutters. It can save tool change time,more efficient!
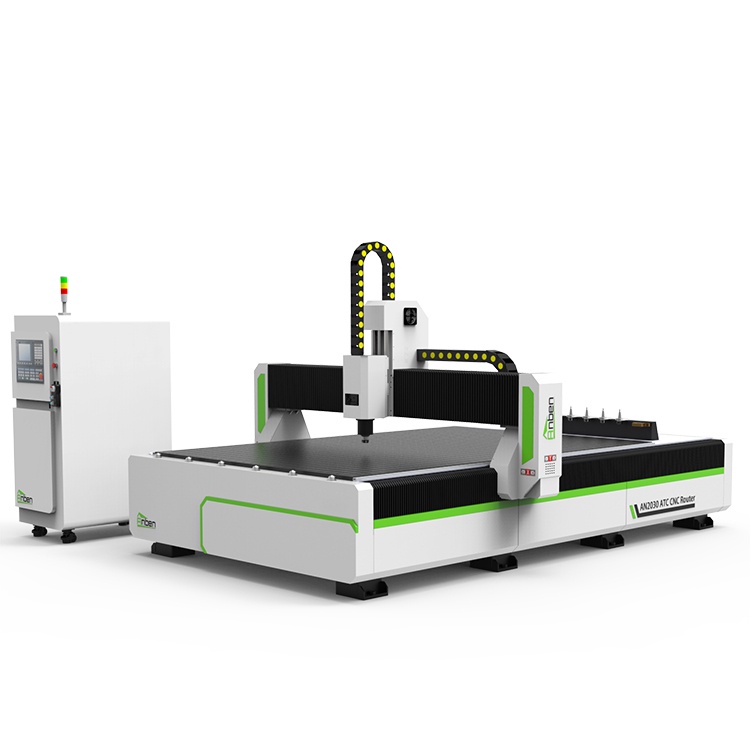
 AN2030ATC Automatic Tool ChangeAnben ATC (Automatic Tool Change)CNC router is popularly used in woodworking, making signs, molds making, art crafts making, etc. The automatic tool changer magazine carries 8-16 cutters. It can save tool change time,more efficient!
 AN2040ATC Automatic Tool ChangeAnben ATC (Automatic Tool Change)CNC router is popularly used in woodworking, making signs, molds making, art crafts making, etc. The automatic tool changer magazine carries 8-16 cutters. It can save tool change time,more efficient!
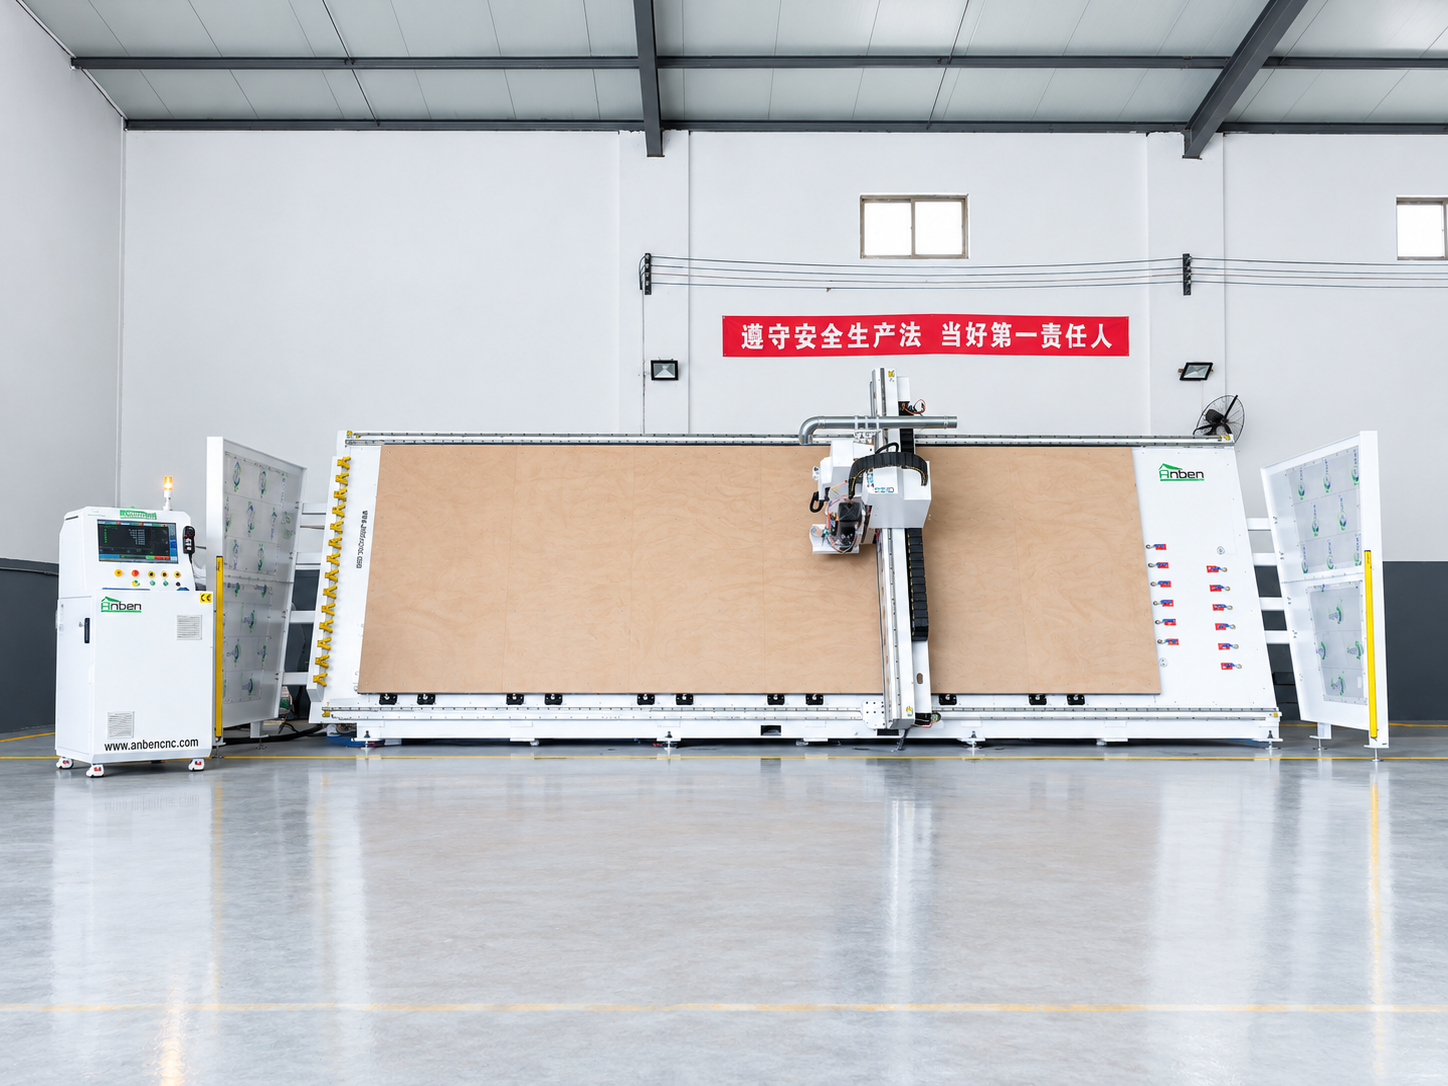
 V-2162 Vertical cnc routerThe vertical cnc significantly reduces the machine’s floor space. It is equipped with 8 sets of ATC tool magazines and other auxiliary devices such as vacuum pump, saw blade,aggregate head, positioning systems, etc. The Vertical cnc can cutting,grooving,engraving,drilling for various types of aluminum composite boards, acrylic boards, fiber boards and other boards. It is suitable for construction facades,cladding ,advertising signs,furniture manufacturing and other industries.
Get in touch

Anben Industrial – Founded in 2017, with a pure engineering spirit, providing trustworthy CNC solutions, born for long-term stable performance.
Contact